It about 2 months ago when I
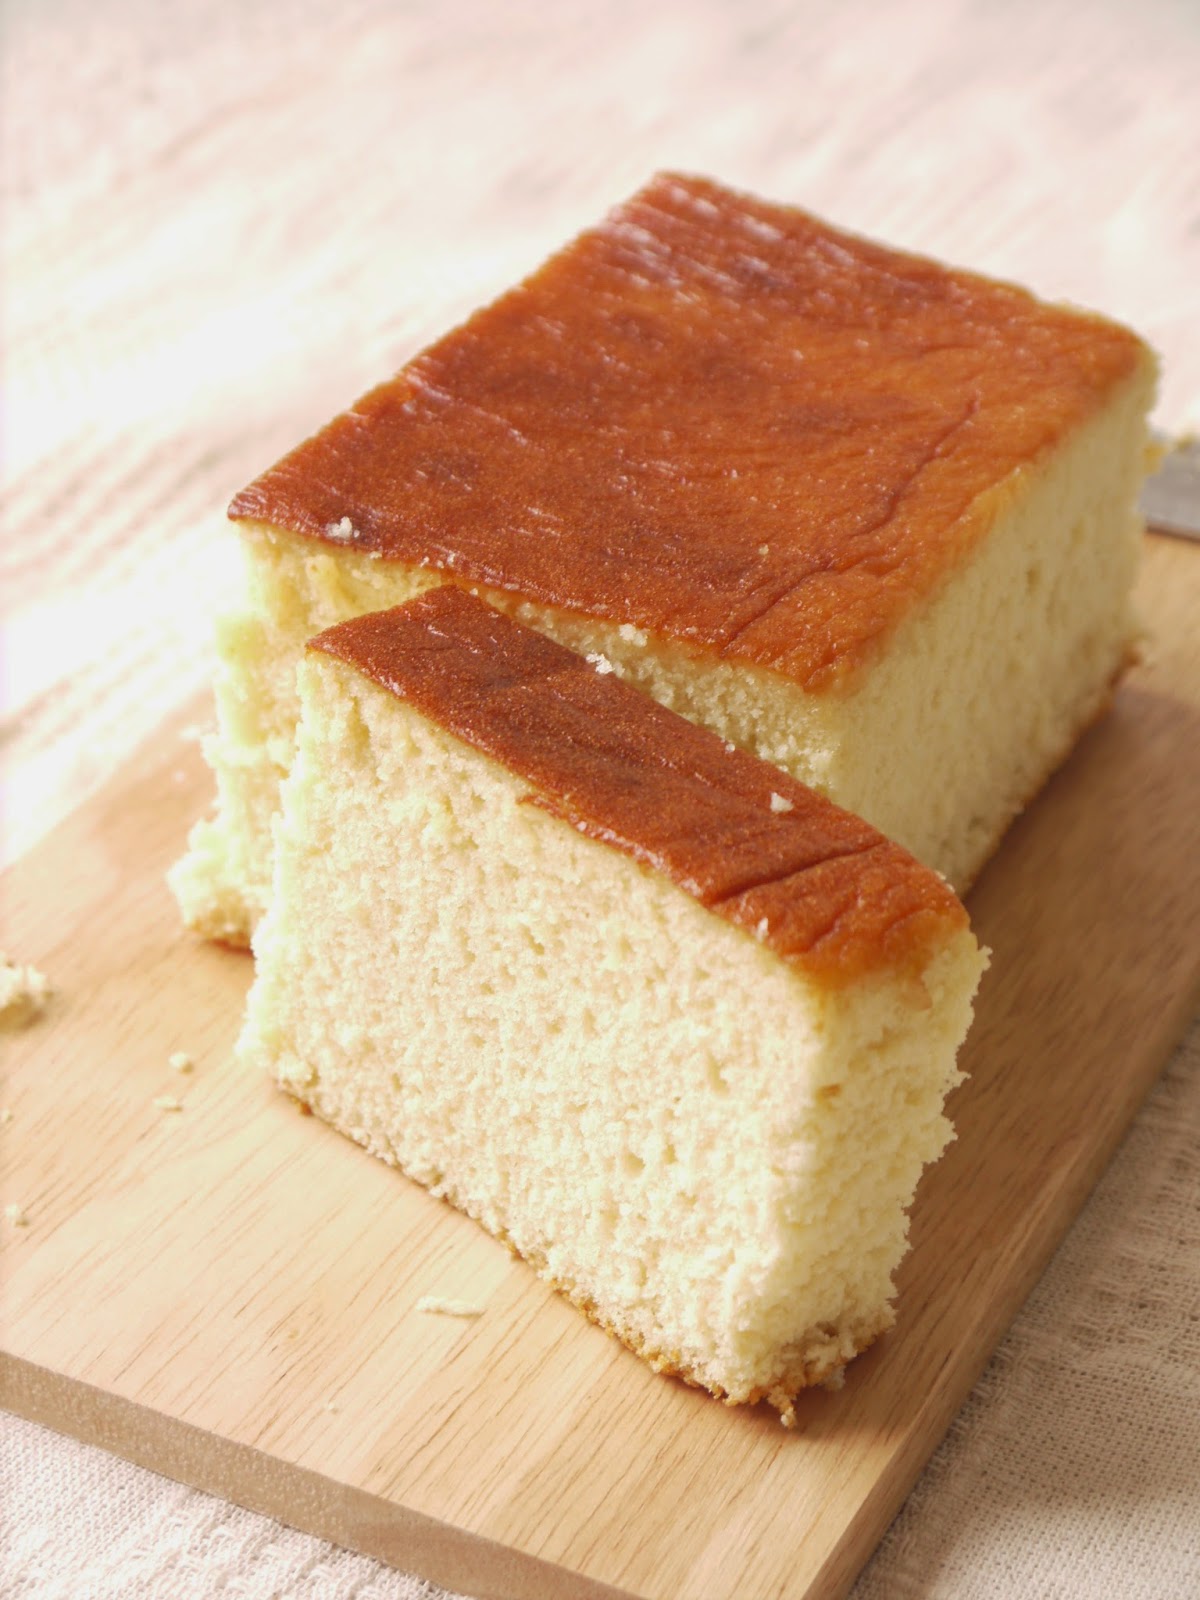
first start blogging, I made Japanese Honey cake which is also named as カステラKasutera for my first blog.
I’m sure I had express enough my passion about Japanese cuisine with my
previous post Warabi Mochi, and all of sudden I just craving so much of my
favorite Japanese Honey Cake. Kasutera or Japanese Honey cake is very popular
in Japan, as my previous blog post said they even have store are famous on just
selling one type of cake.
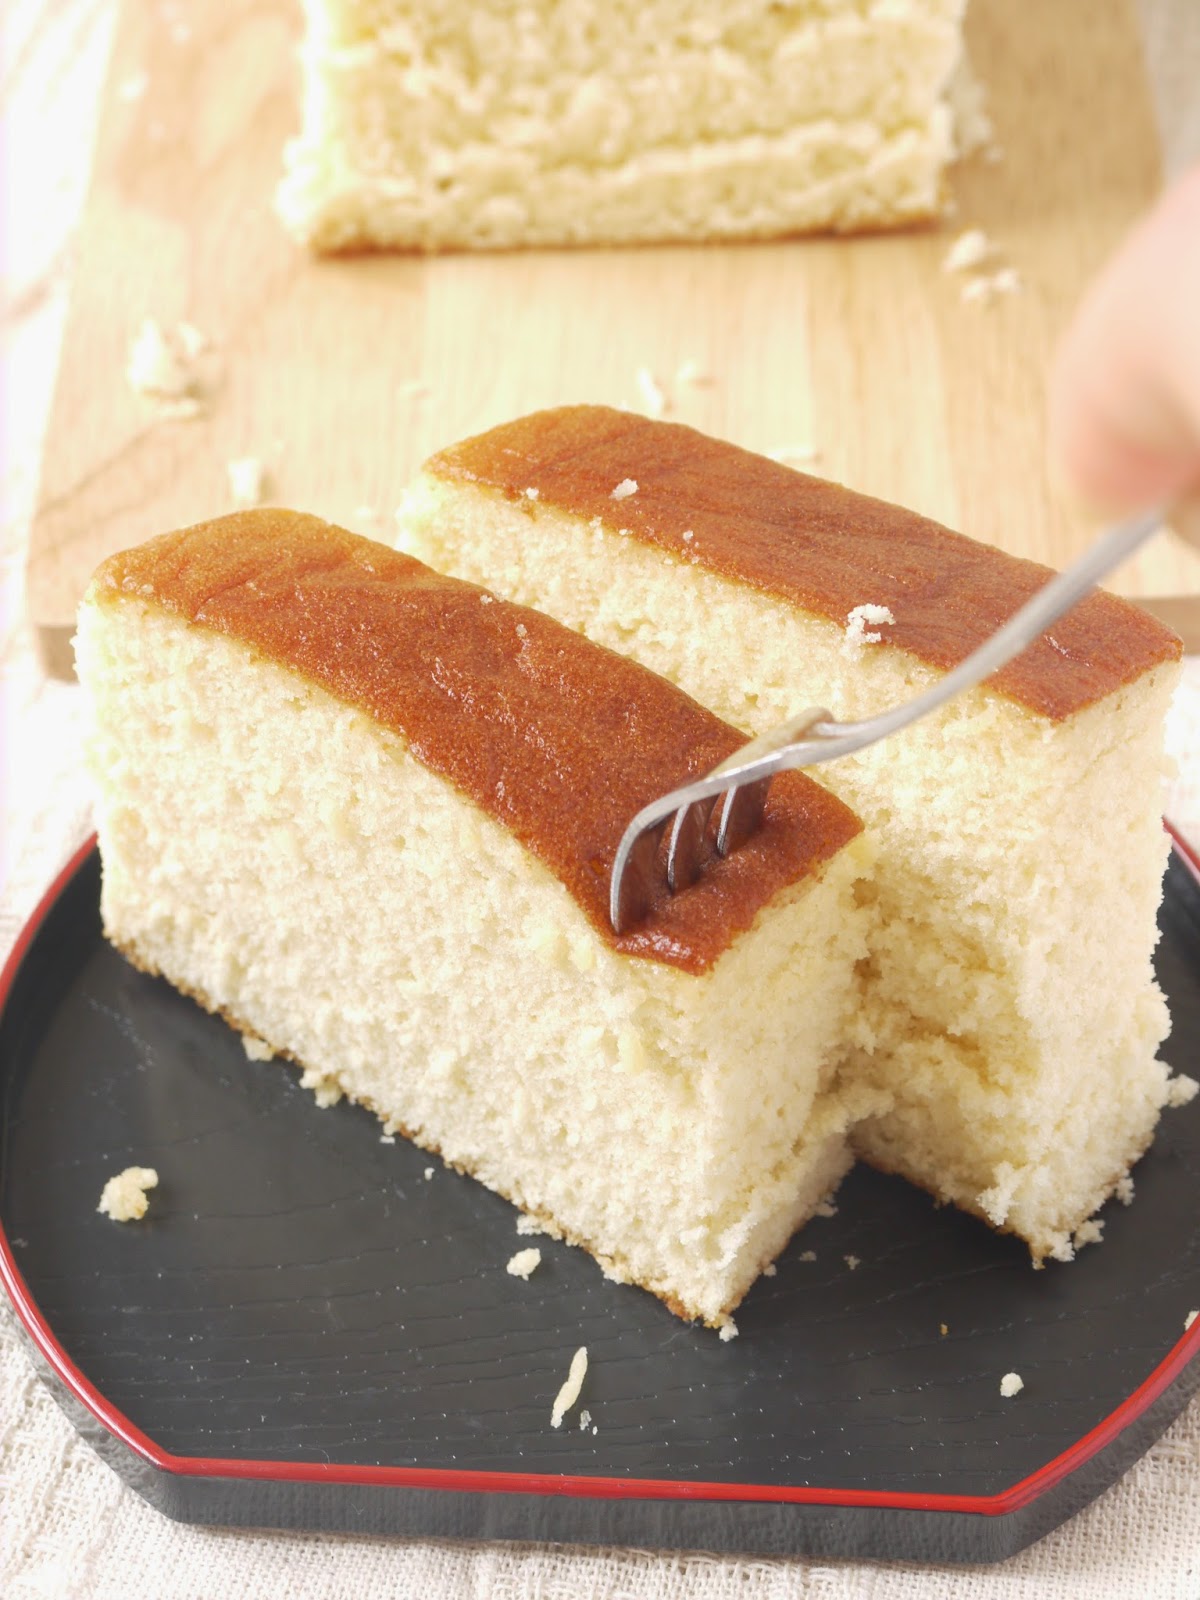
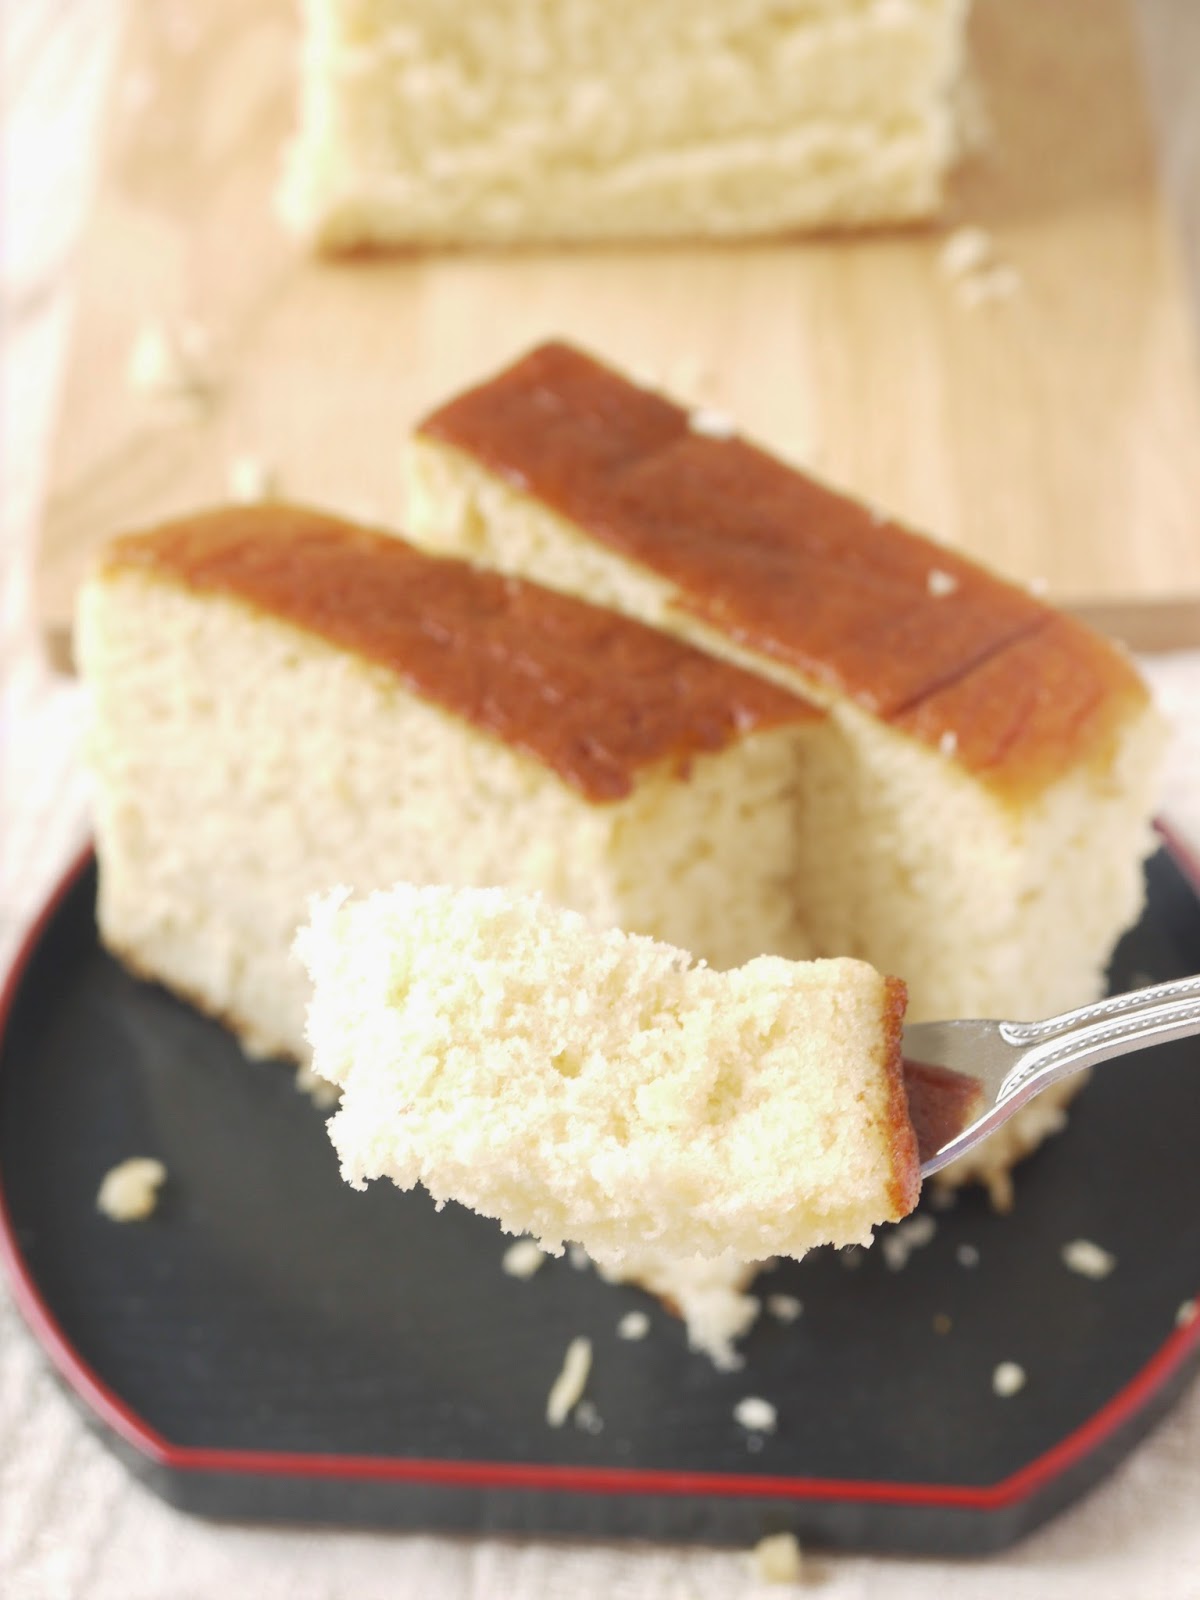
This cake is light and
fluffy, not like most western cake that will have lot of butter. You will not
believe that this cake is made of just 4 simple ingredients that you can easier
found at home – sugar, flour, eggs and honey. Too easy to believe but the
result is amazing. The most famous place in Japan making this cake is Nagasaki,
which believes this cake was derived from Portuguese in the 16th
century, meaning “bread from Castile”(I read Wikipedia.). It has over 380 years
history, a very traditional flavor but yet still very popular around the world.
And today I made it again
with some more tips that I found might be helpful, especially for people like
me who do not own a stand mixer like Kitchen Aid (which I dream to have one but
cannot afford yet.).
This cake is so yummy that I
eat at least 2 pieces a day just because I don’t want to finish it too quickly.
Tips on How to make successful Honey Cake
Beating the egg is the
key for this cake
It may take a while to beat
the egg until it reach the stage that you can draw a line. Since I’m only using
a hand mixer at home, I do not own a stand mixer myself, I found that it is
faster and easier to beat the egg while you hold your mixer diagonally while
beating and half expose to the air. In this way, it lot faster to beat in the
air but also it create lot of big air buddle, so you need to beat in lower
speed to break the buddle into a smaller piece and it will make the cake has a
finer texture.
Timing for mixing the
flour
Once you add in flour and
start mixing, the batter should only sink a bit if you are beating your egg to
the right texture. It is very important to have the egg beat until you can draw
a line and it will not disappear. Otherwise if the egg wasn’t beat enough, once
you add the flour in, it will quickly sink in and dismiss the buddle inside and
you will have a really dense cake after.
DO NOT OVER-MIX THE FLOUR – try
to minimize the time while mixing the flour in, you just to make sure it just
incorporates with the egg mixture.
Ingredients
8 eggs (room temperature)
200g Sugars
50g Honey + 1 tablespoon for
brushing
50ml Milk
120g Bread Flour
80g Plain Flour
20cm x 20cm mold or if you
can use 2 separate bread tin mold
1)
Line your tray
with baking paper.
2)
Shift the all flour
together.

3)
Put milk and
honey together, microwave for 30s or until honey is completely mix with Milk.
4)
Pre-heat your
oven to 170C.
5)
Put eggs in a
bowl and mix well with sugar. (You need to mix the egg with sugar before beat
over Bain Marie; otherwise the egg will be cook as sugar makes the boiling point
of egg higher.)

6)
Beat eggs over Bain
Marie or hot water bath until you feel the egg mixture is warm to touch.
7)
Keep beating in high
speed until it become pale.

8)
Hold the hand
mixer diagonally about half of the mixer exposes to the air (see photo), this
way it easier to beat in the air.
9)
Once enough air
have been beat into the egg mixture, turn to low speed to break down the air
buddle into a smaller and finer bubble which will create a more fine texture
for the cake later.
10)Beat until you can draw a line on the egg mixture and
it won’t disappear.

11)Pour in the honey milk mixture and mix with egg
mixture, not too long just about 10 seconds.
12)Put in 1/3 flour mix in medium speed for 10 second
and repeat until all flour mix in.
13)Beat at low speed for 30 – 45 seconds in order to do
some fine turn for the air bubble in the cake batter.

14)Pour the batter into the prepared mold. Put in the pre-heated oven for 1 minute; use a
spatula to smooth the surface so no buddle is on the top, which will create a
nice flat top for the cake.
15)Continue to bake for 30 minutes. Check the cake after
20 minute sees if there is a beautiful amber color on the top.

16)If color is getting too dark put an aluminum paper on
top and lower the heat to 150C and continue bake for about 10-15 minutes until
the skewer come out clear.
17)In the meantime, mix 1 tablespoon of honey with little
bit warm water to dissolve for brushing.
18)Once the cake finish baking, take out form oven and brush
the top with honey.

19)Immediately remove the baking paper and wrap the cake
with cling wrap paper while it still warm to keep the moist within the cake. (I
didn’t line the cling wrap paper proper, so it looks a bit wrinkle on the top.)
20)Leave the cake upside down and put in the fridge overnight
before serve.

21)
Once the cake
has been chill overnight, take it out and trim the edge out.


No comments:
Post a Comment